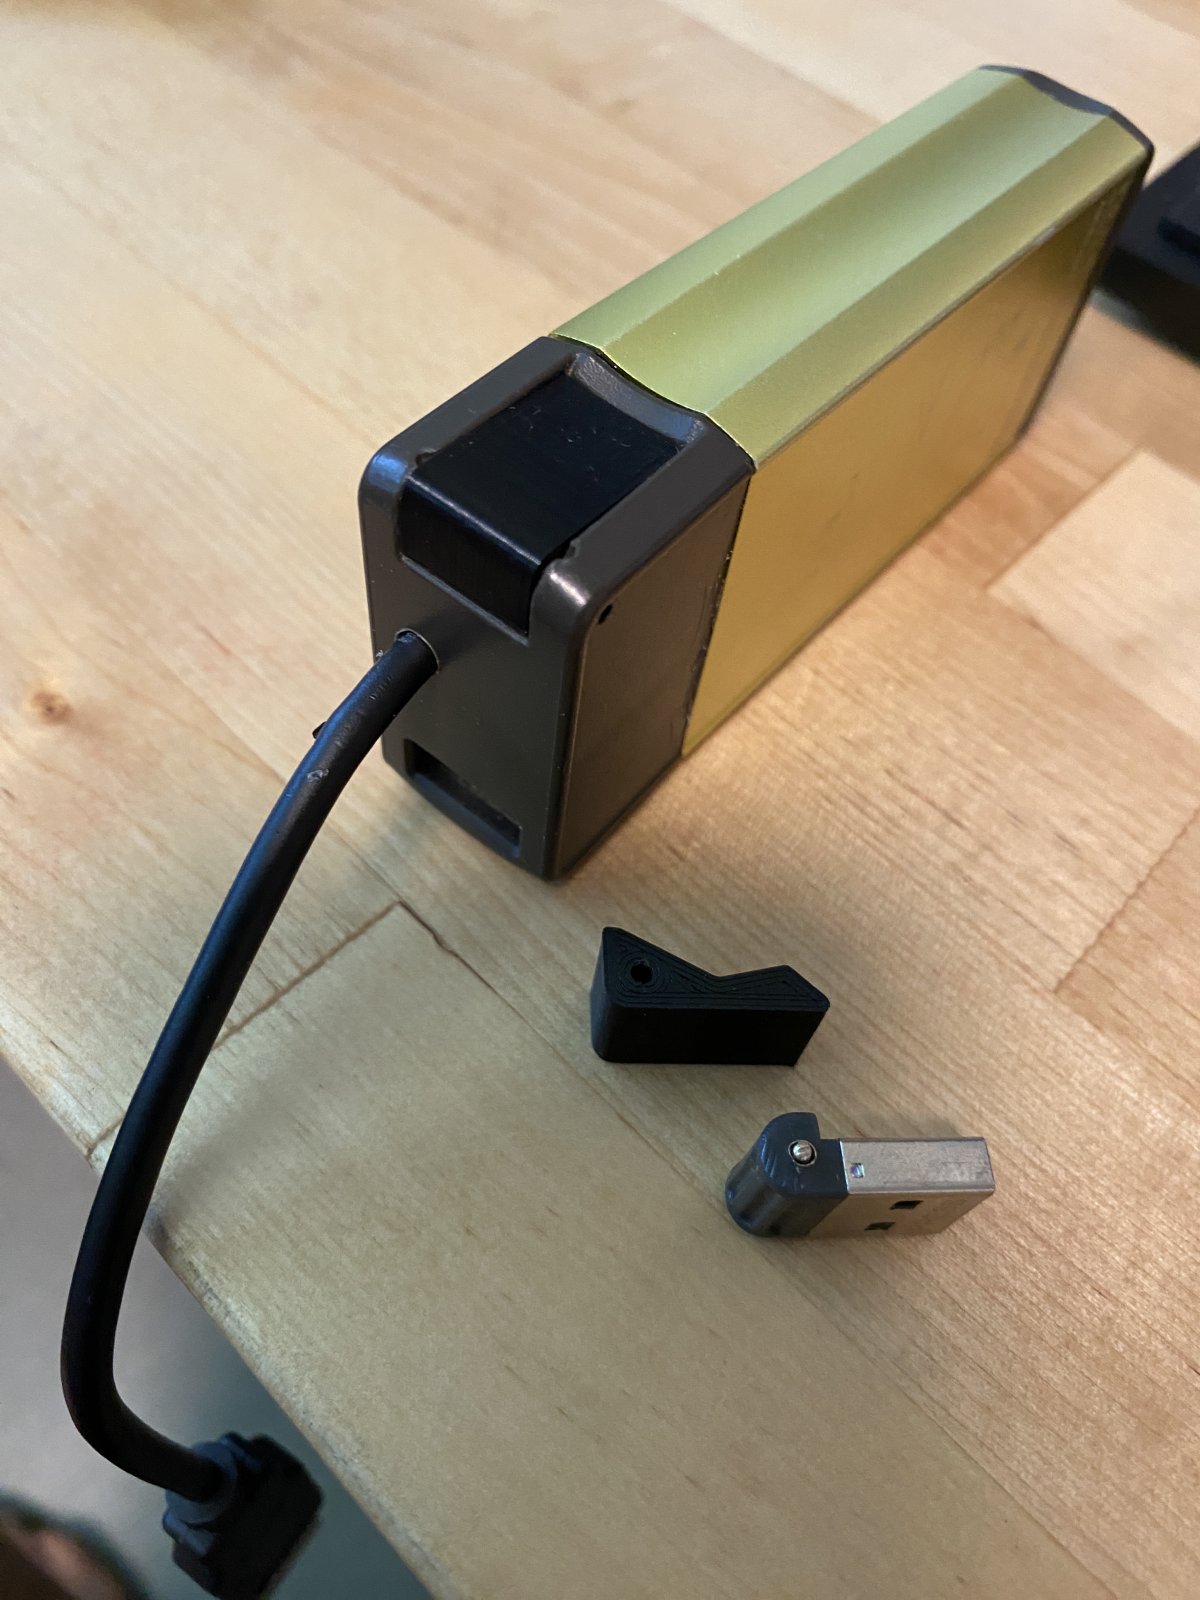
Goal Zero Power Bank Repair
I was at a local trialhead and under the trail map kiosk I spotted a lime green anodized metal cube. I figured it was another vaping device so I picked it up with the intention of either extracting a nice rechargeable battery, or throwing it in the trash. But it wasn't a vape thing. On the side it said Goal Zero and there was a USB female port, but something about it seemed incomplete. Then I noticed there was what looked like a USB male plug also on the ground.
This male plug was the missing part and looked like it had come detached from what was actually a USB power bank. Upon inspection it looks like a "clever" design - the USB plug swings out from the power bank and also doubles as a power switch. It worked (past tense) by clicking into the body of the power bank using two spring-loaded pins, much like the way watch spring bars work. The two pins were electrically isolated and passed the positive and negative leads from the plug into contacts on the main body. But it turned out to be a little too clever - too much force on the plug can shear the little brass pin.
I took it home thinking I could easily repair it if replacement plugs were available. Searching the web revealed other people with the same problem, and no replacement part from Goal Zero.
Booo.
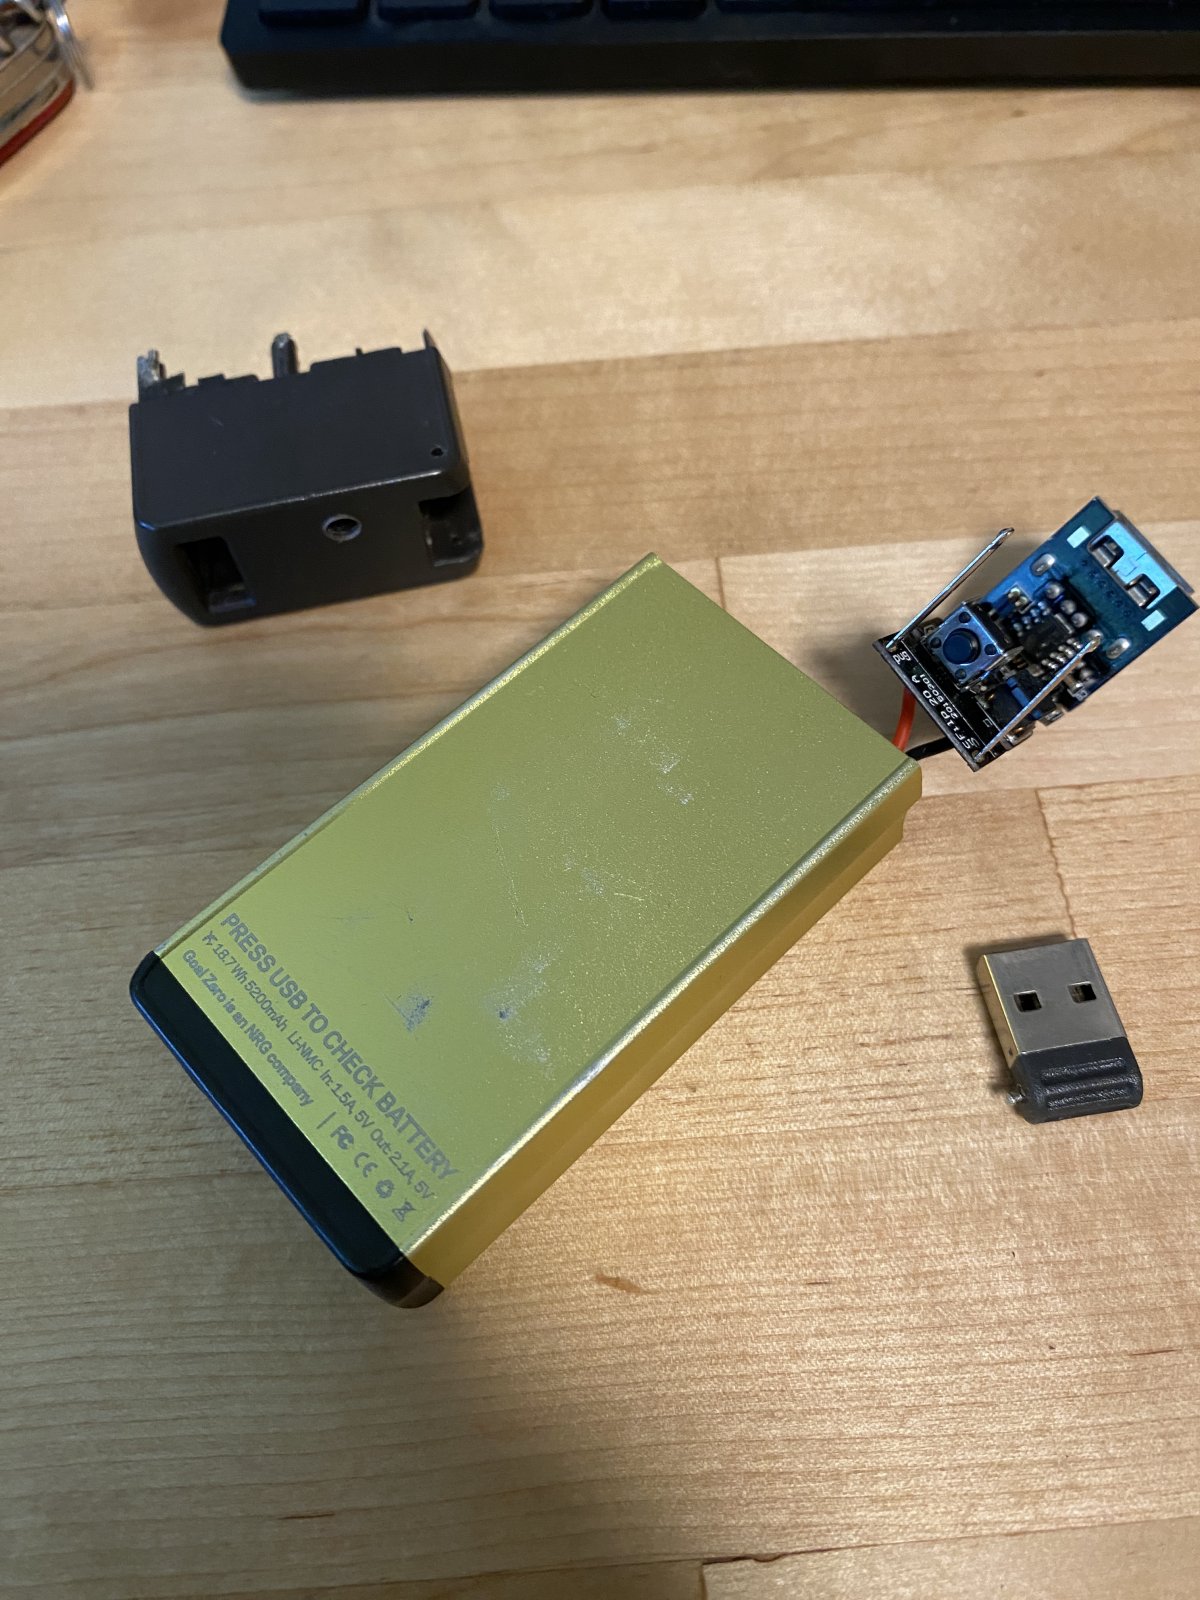
The pin system was about the same size a watch spring bar, and I have plenty of those. I took apart an extra spring bar and the pin end, flipped around, was close in size to the original brass pin, and even looked like the right size to press into the broken remainder of the brass pin. With some fine fiddling I got new pins inserted, but trying it out I couldn't get the contact right to pass current into the charging circuit.
It didn't seem like I could repair it back to stock, but at least I could get it to be functional instead of e-waste. The plan was to forget about the pivoting plug and add a cable instead. I considered trying to add another female port for a cable but it seemed to fussy to both find one, order it, then try to find a place for it to fit. Drilling a hole and sacrificing an old USB cable to serve as a charging pigtail looked morepromising.
Applying some leverage in the vice popped the plastic lid loose. There were some steel rods inside that I clipped shorter since they seemed like they would just make reassembly harder than it needed to be. I drilled a hole for the cable in a convenient spot in the top. The old contacts for the pivoting plug got desoldered from the charging board and replaced with the power leads from the cable. A zip tie and a blob of hot-melt glue served as a strain relief. Assembled it back together with a little glue and the power bank was back in business.
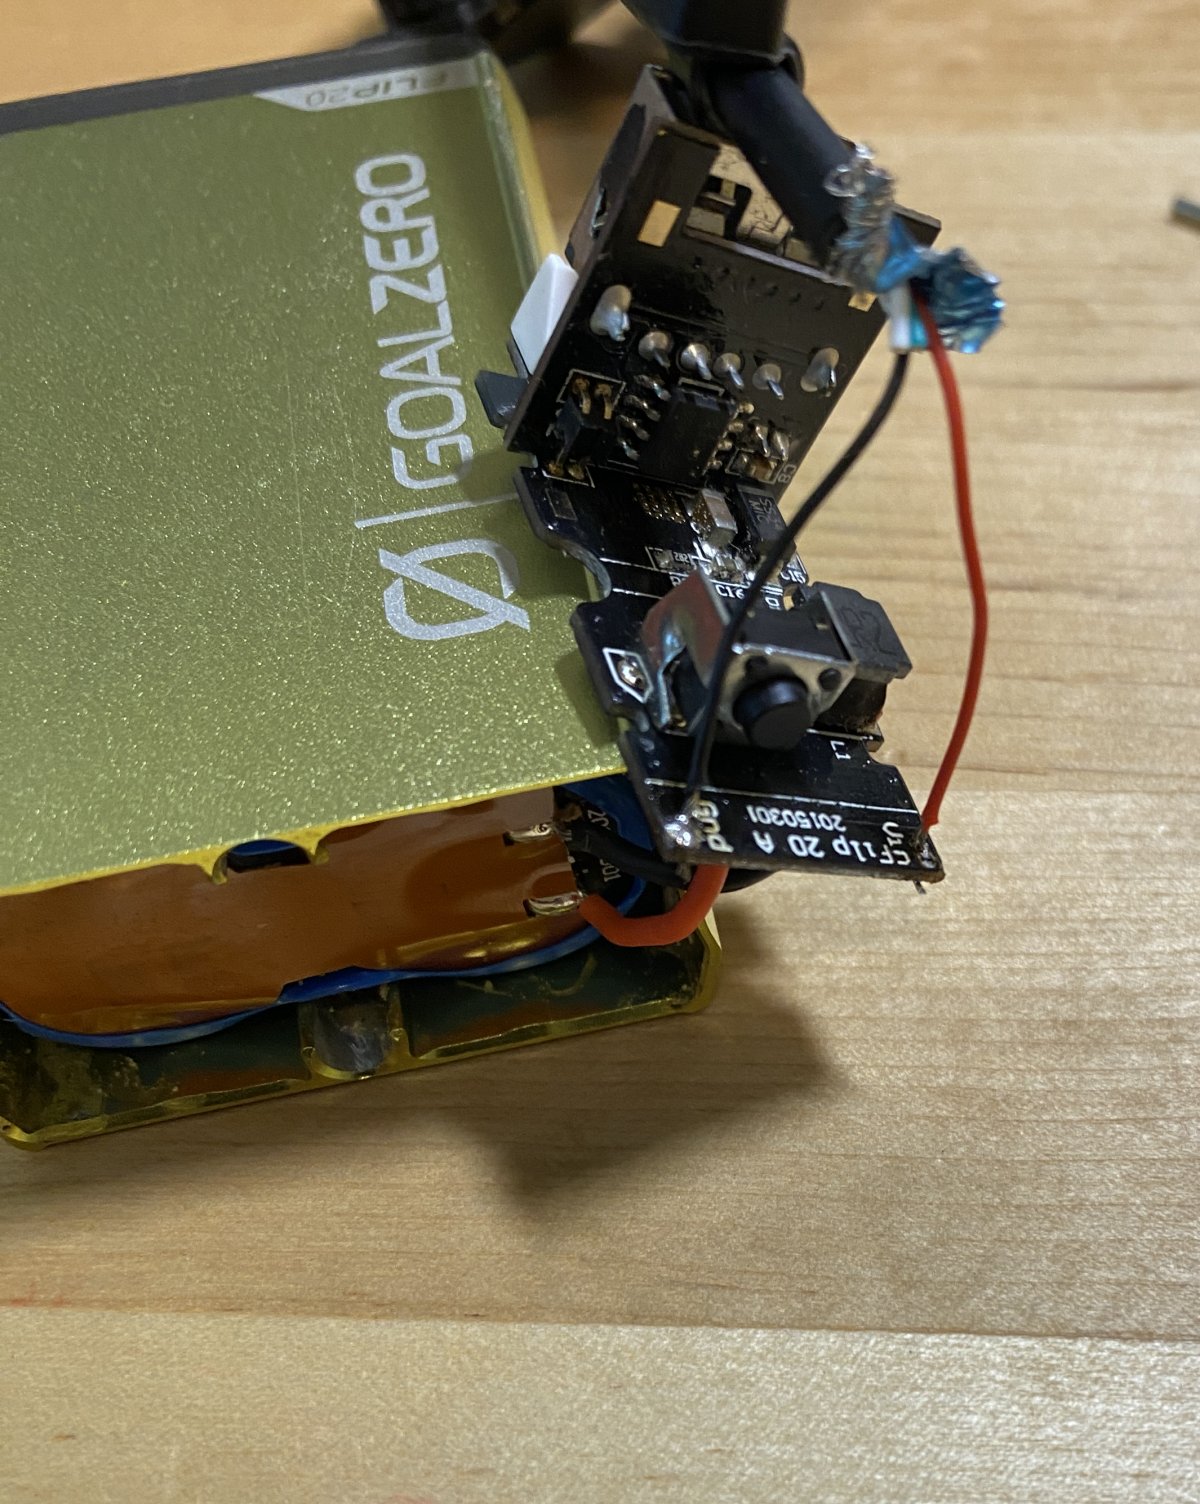
The pivoting plug also acted as a "switch" but just pushed on a smaller switch underneath it. While it was still technically usable, I decided a nice finishing touch would be to make a new switch cover. I quickly modeled up something in Freecad and printed it out in black PLA. I reused a piece of the steel rods I cut out as the pivot for the switch. You can find the print files here.